13 minutes
Graphics Study: Red Dead Redemption 2
One of my favorite games of all time, Red Dead Redemption returned with a prequel for consoles in 2018. Then it came for PCs in 2019. I finally managed to play the game and amazed by its graphics immediately. But I got upset because I can barely play the game on medium settings at 25 FPS with a 1050Ti laptop GPU. I know that I don't have a good rig but 25 FPS on medium settings?
Today, we are going to look at some frame captures from the game and try to analyze graphics techniques used in the game.
Foreword
This isn't an official breakdown of the game. It just me analyzing RenderDoc frame captures. If you want to learn from the actual developers, you can check the slides from a SIGGRAPH talk by Fabian Bauer. Slides (At the bottom of the page), Video (starts at 1:58:00)
You can also read a graphics analysis of GTA5 by Adrian Courrèges here. Since both RDR2 and GTA5 are from the same company and uses the same engine, some of the techniques from GTA5 present here as well.
Another important thing is that, I am not a senior graphics programmer or anything like that. I am still a junior in this field. So, there will be plenty of things that I don't understand. If you find any mistakes or things that can be improved, please reach out to me. Here we go!
Dissecting a frame
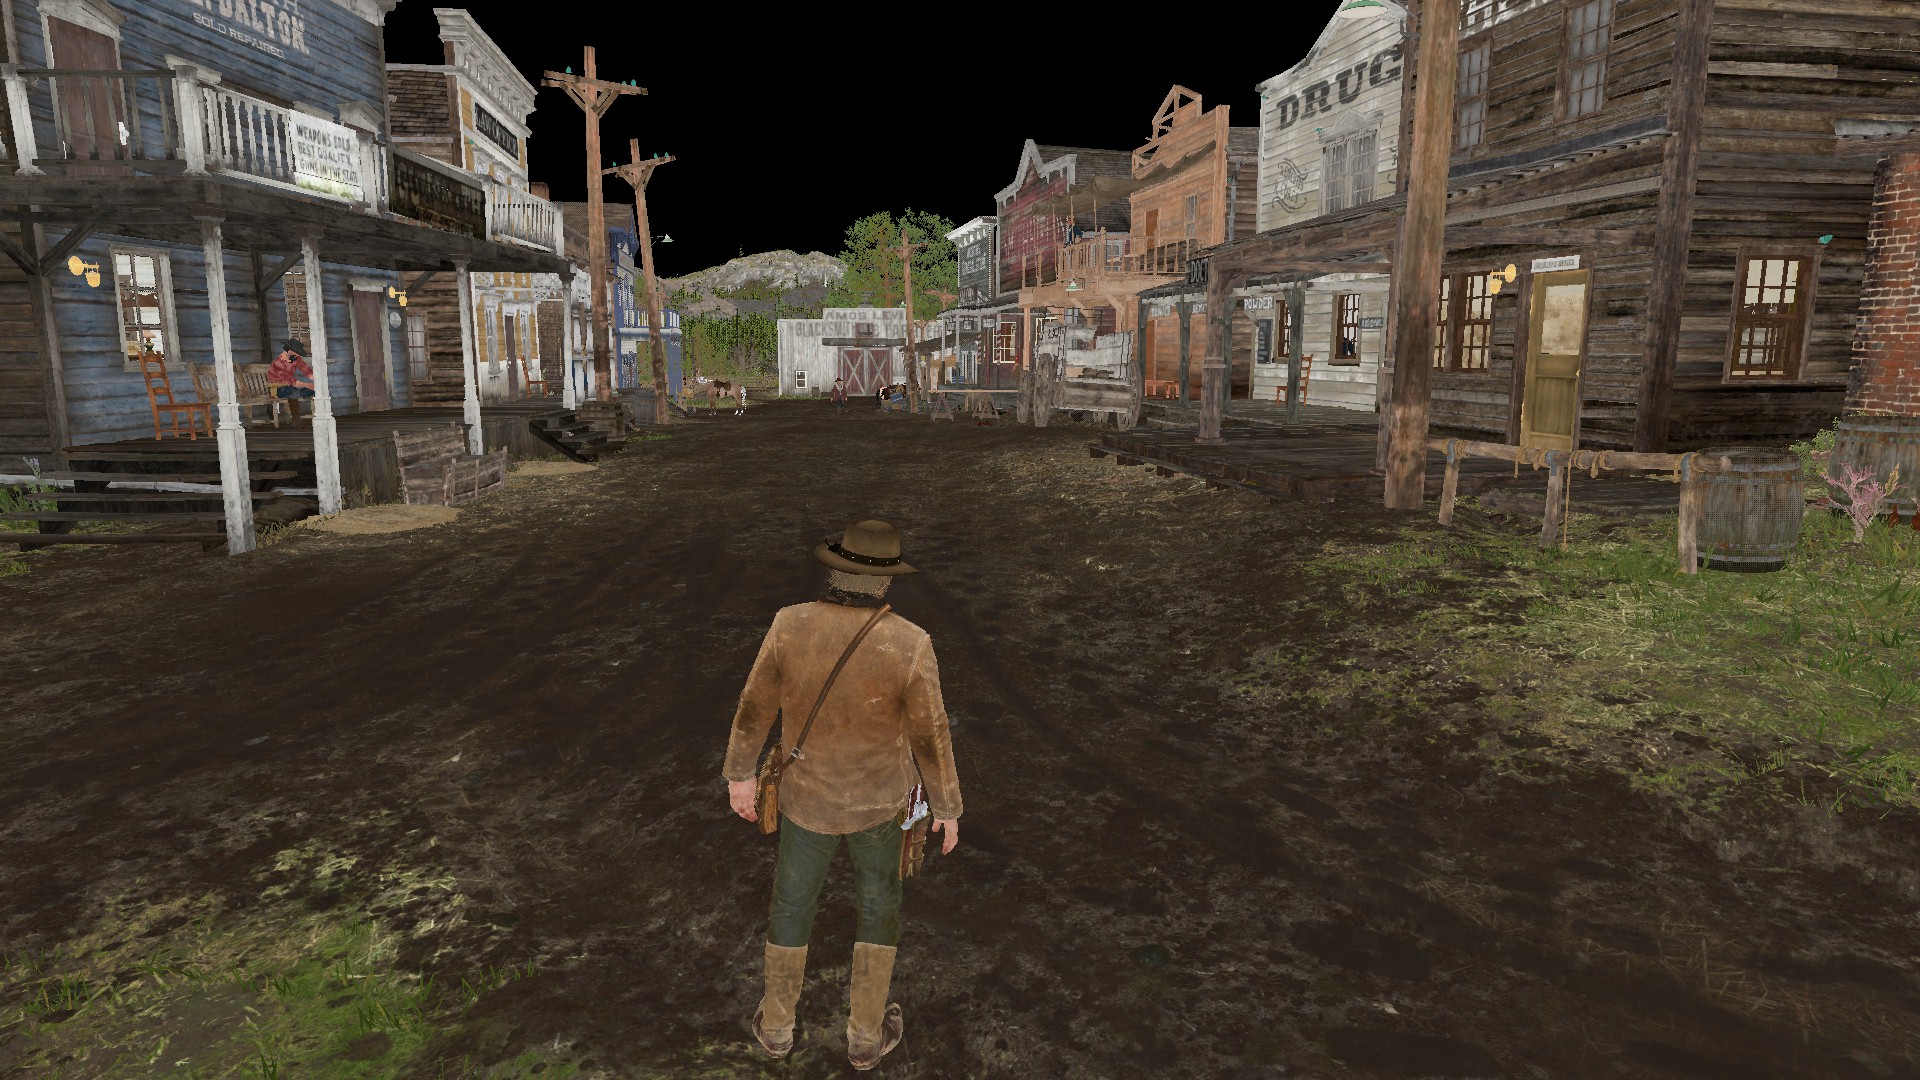
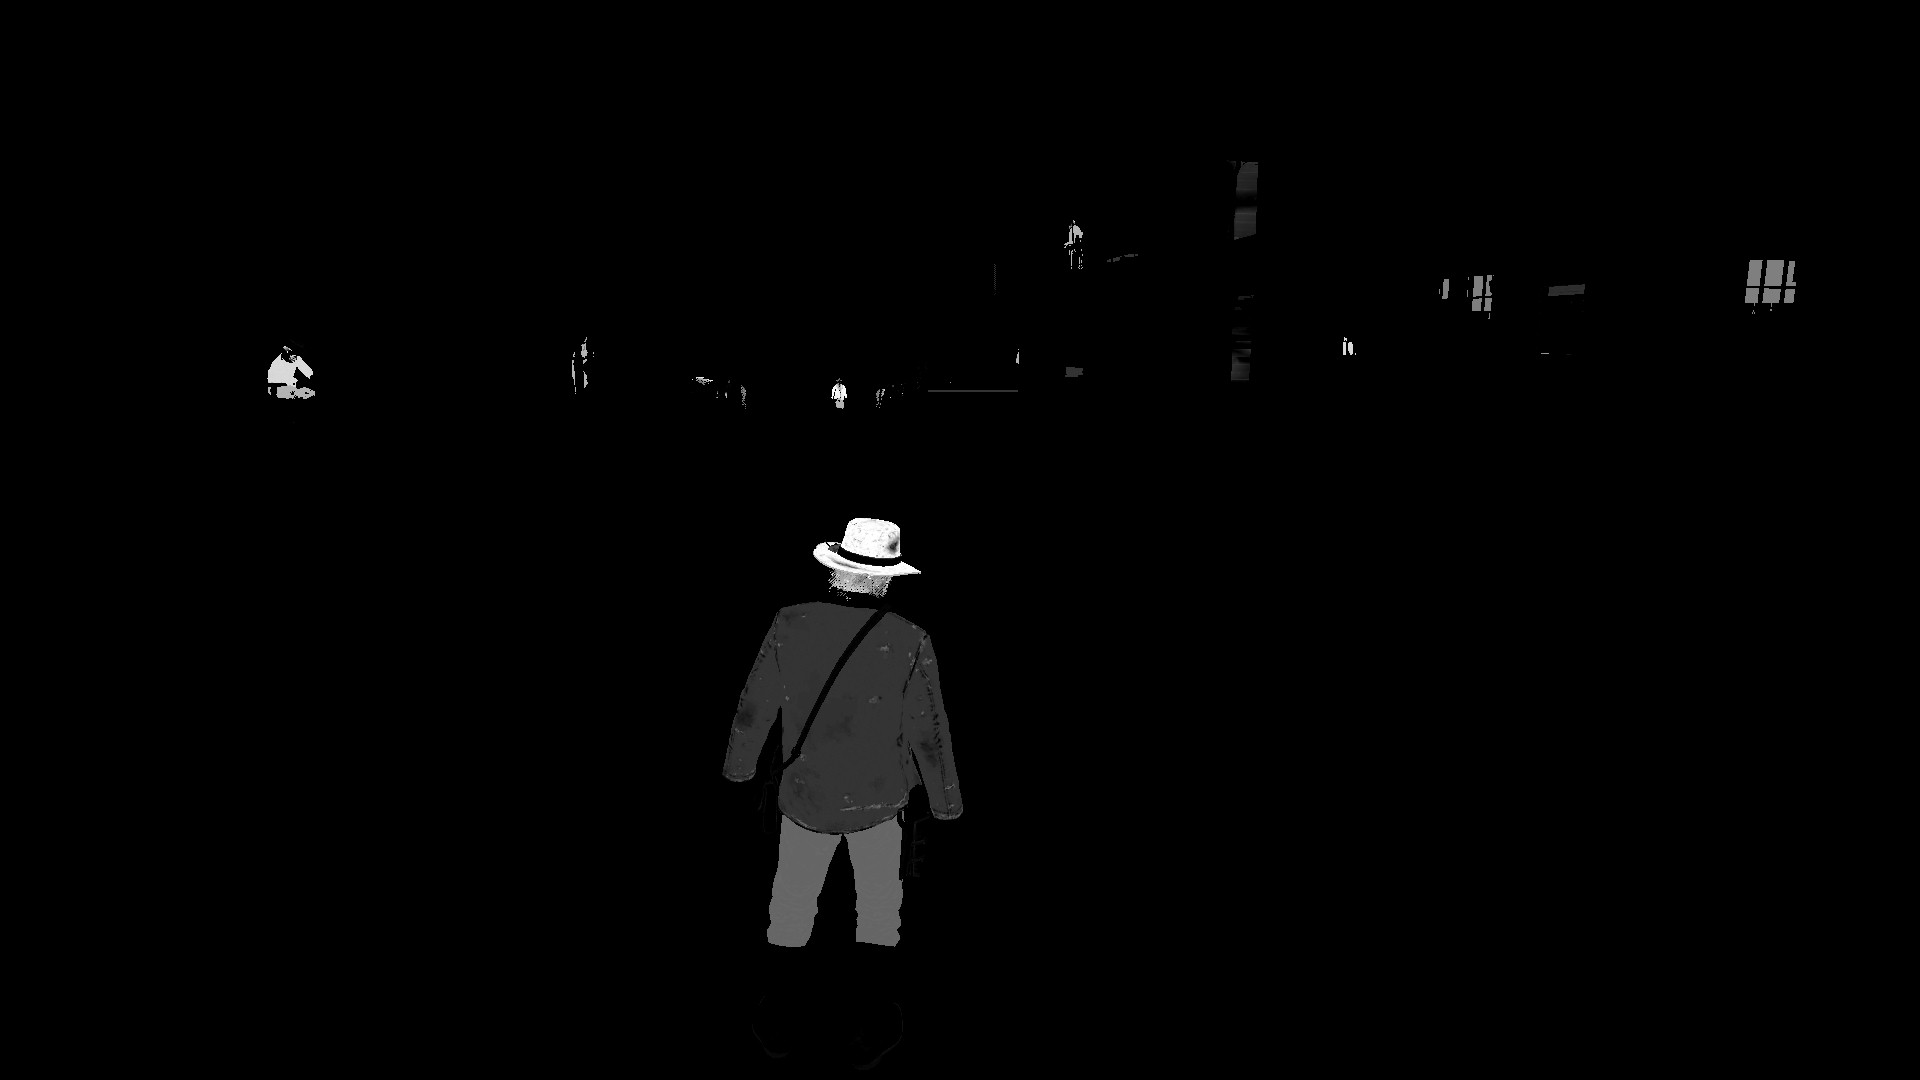
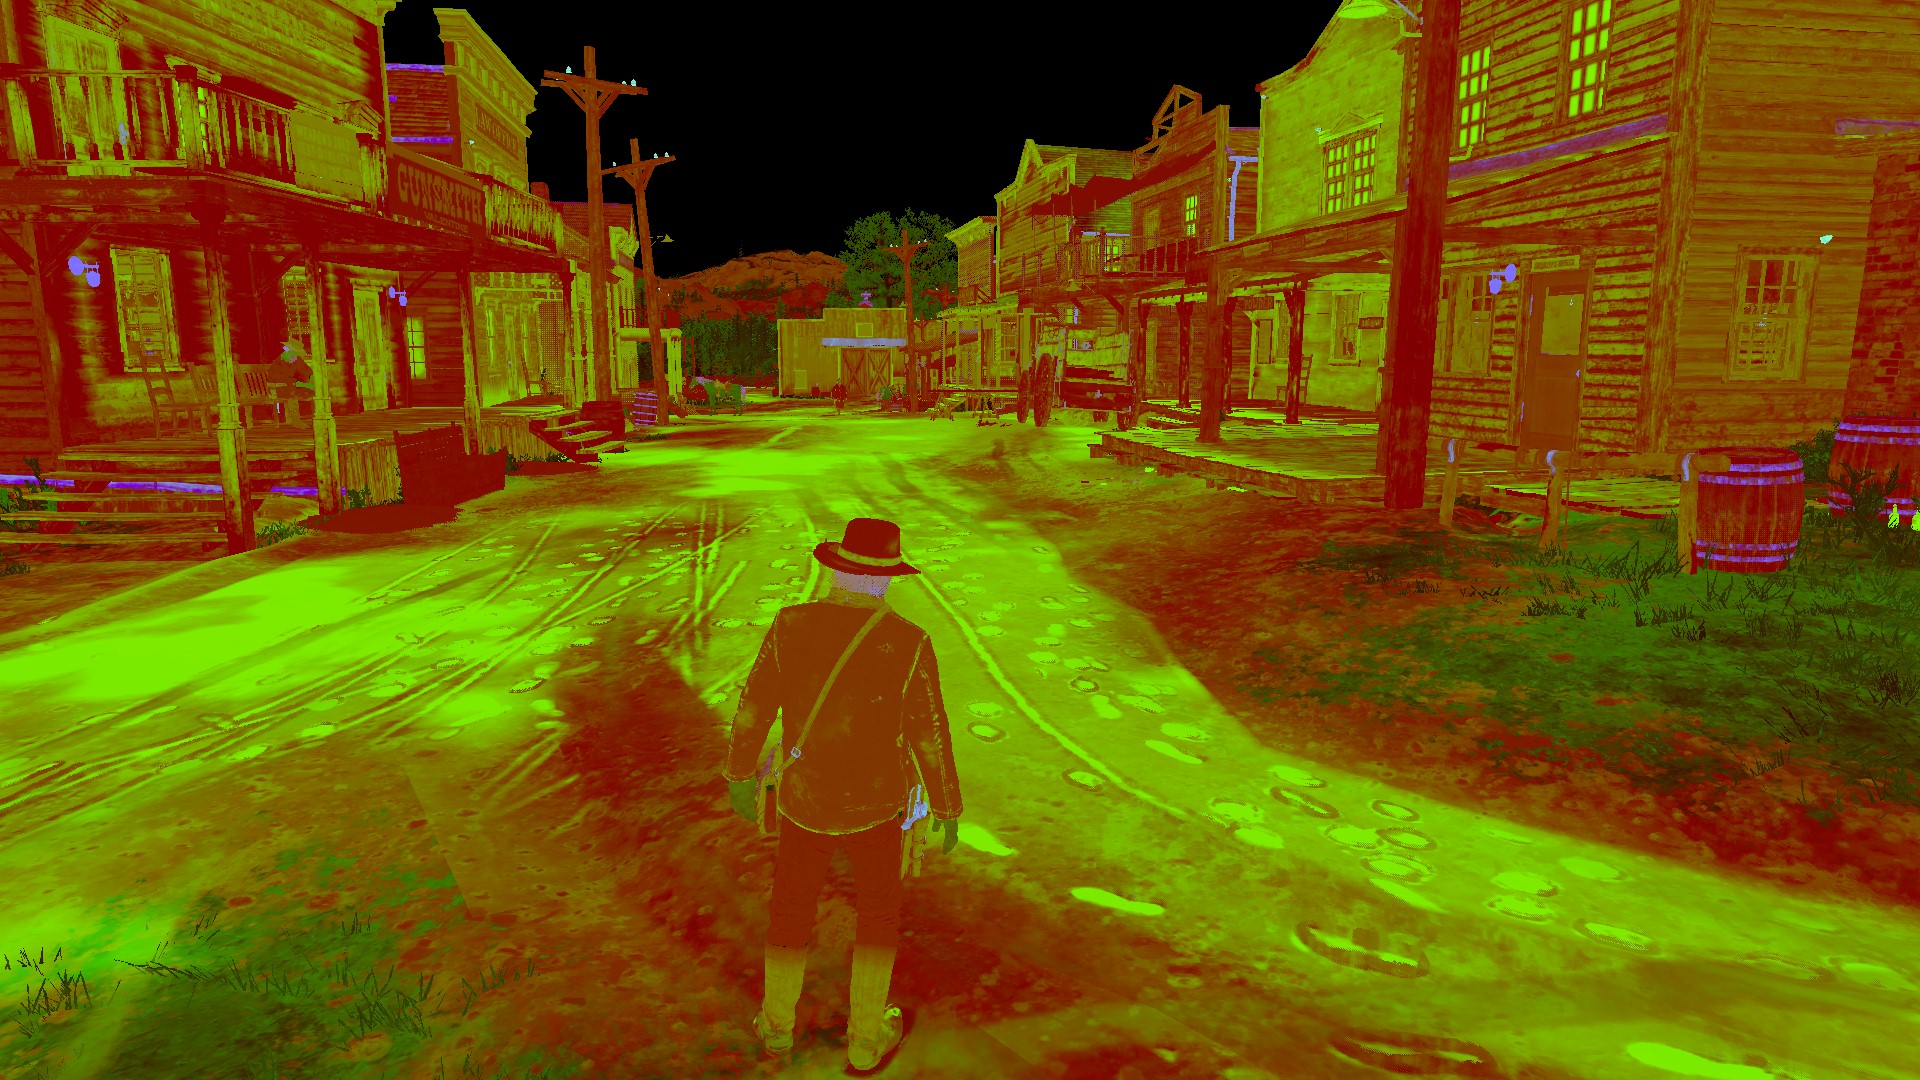
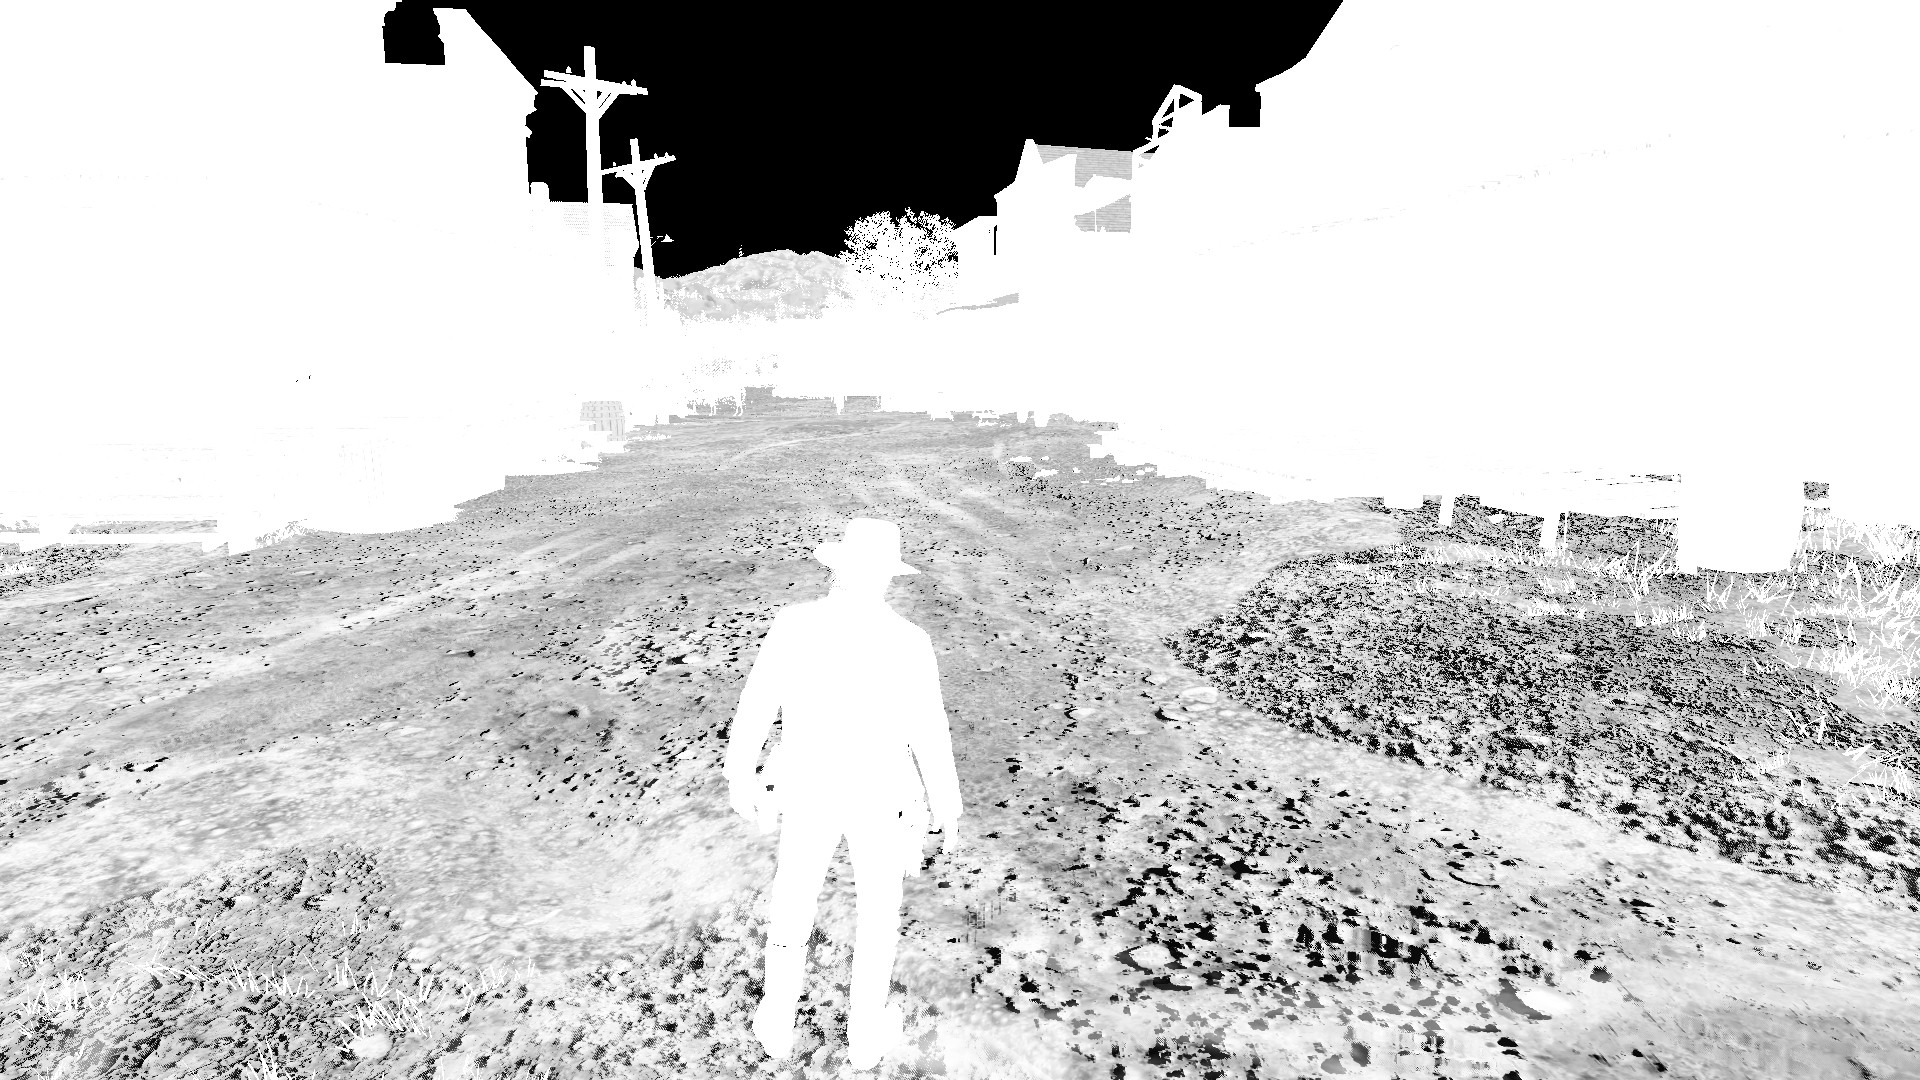
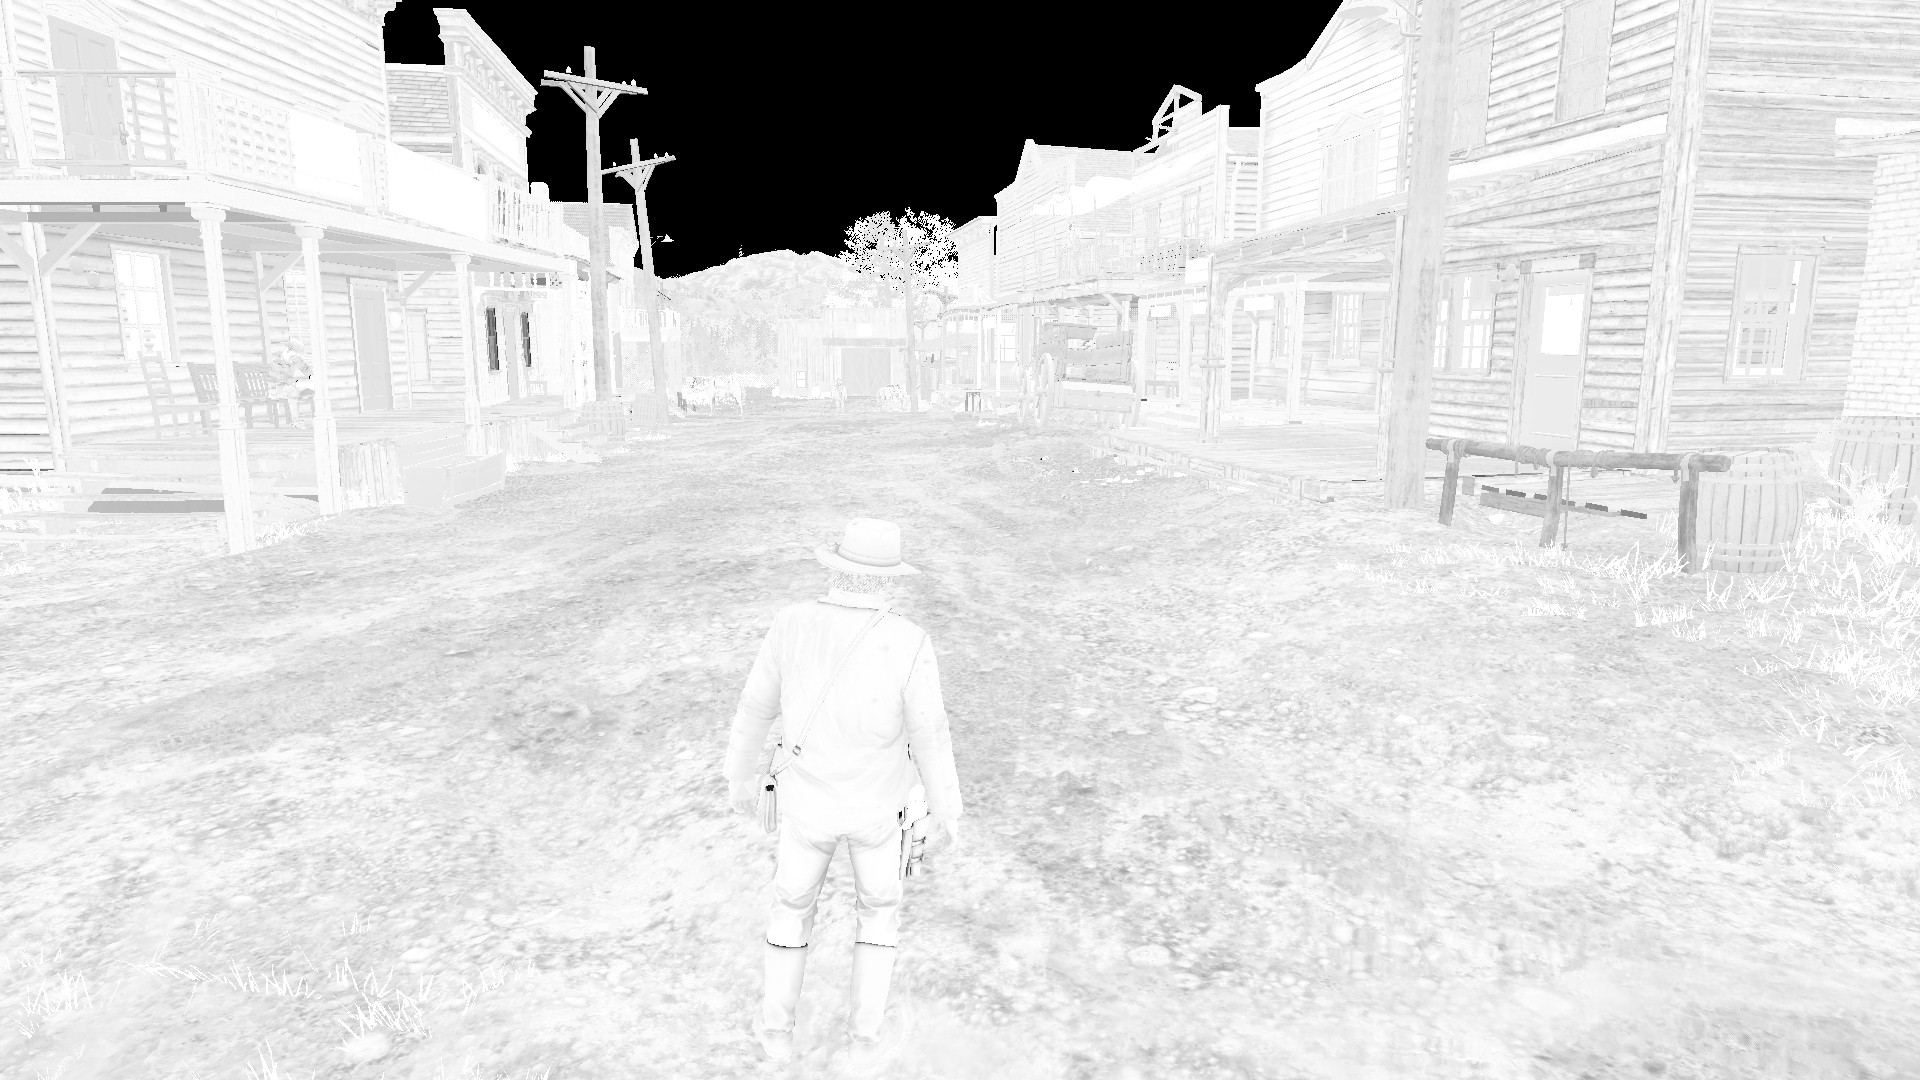
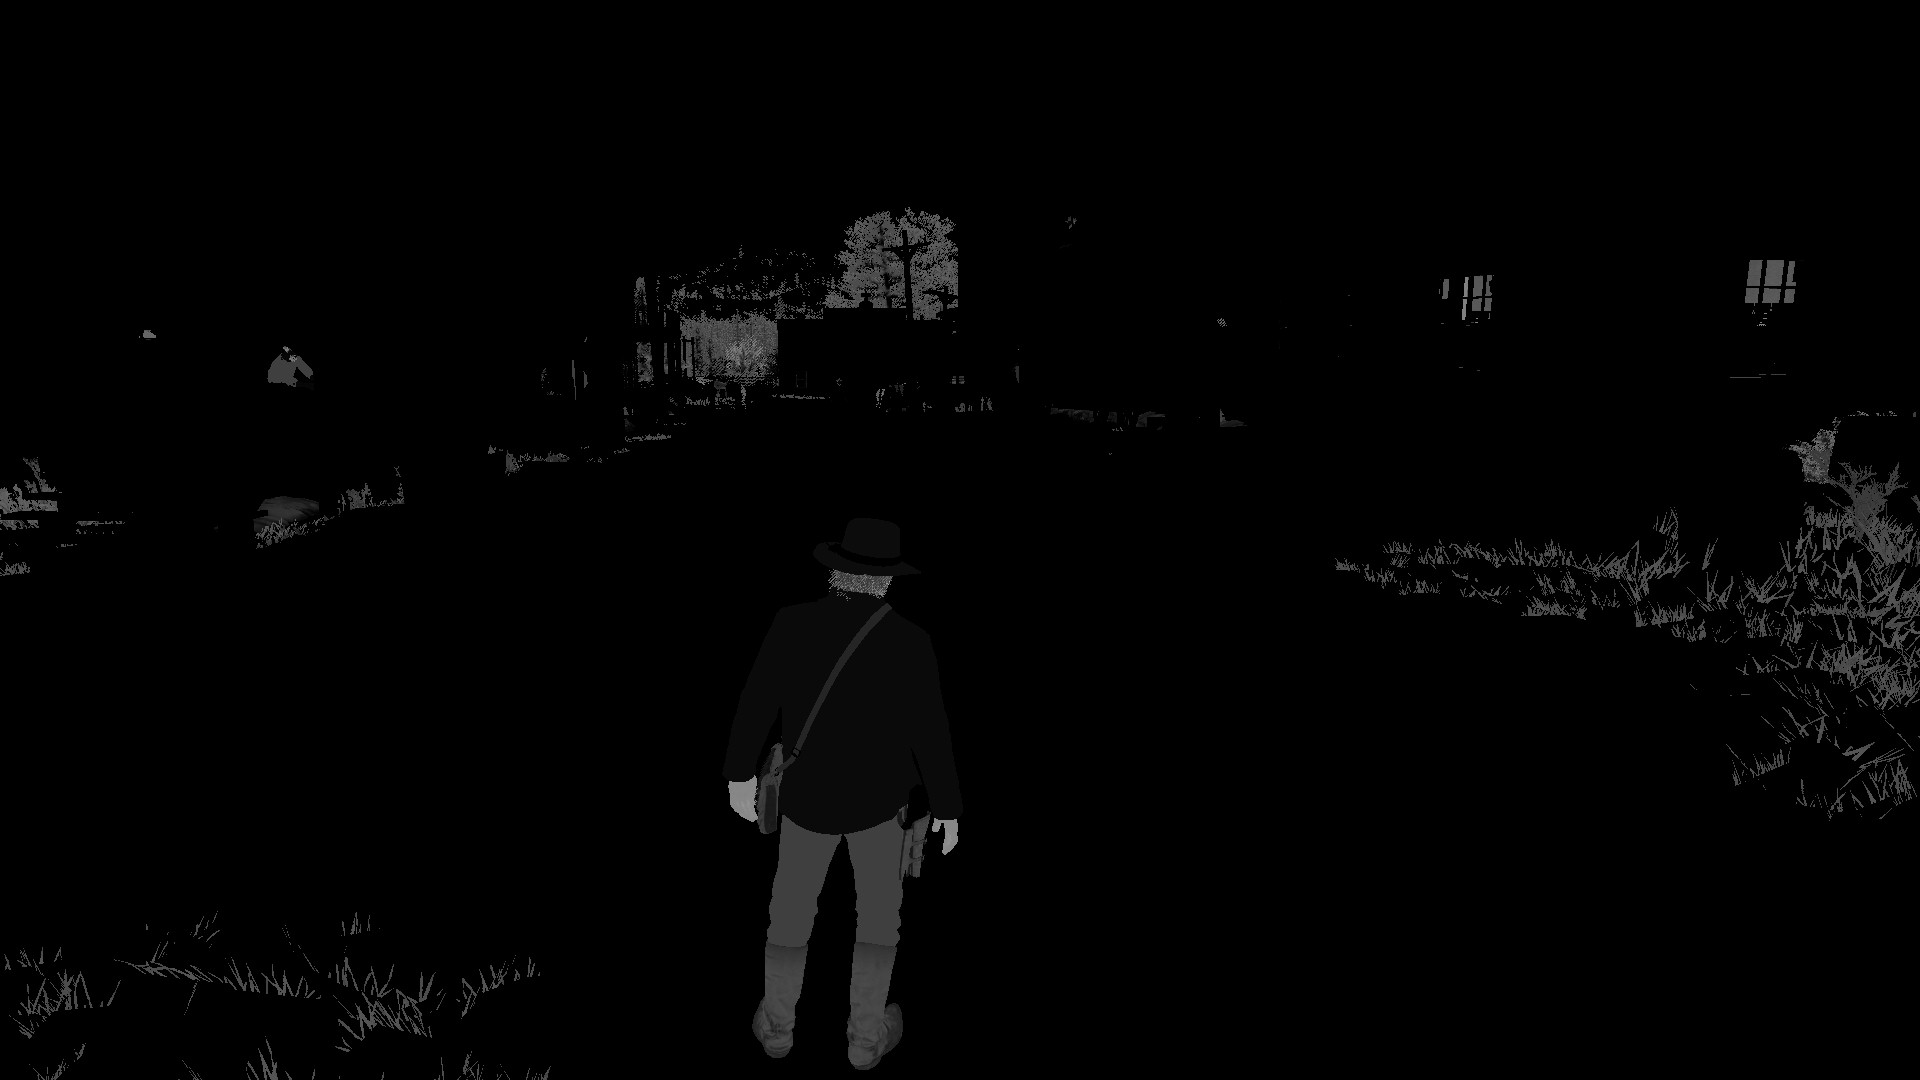
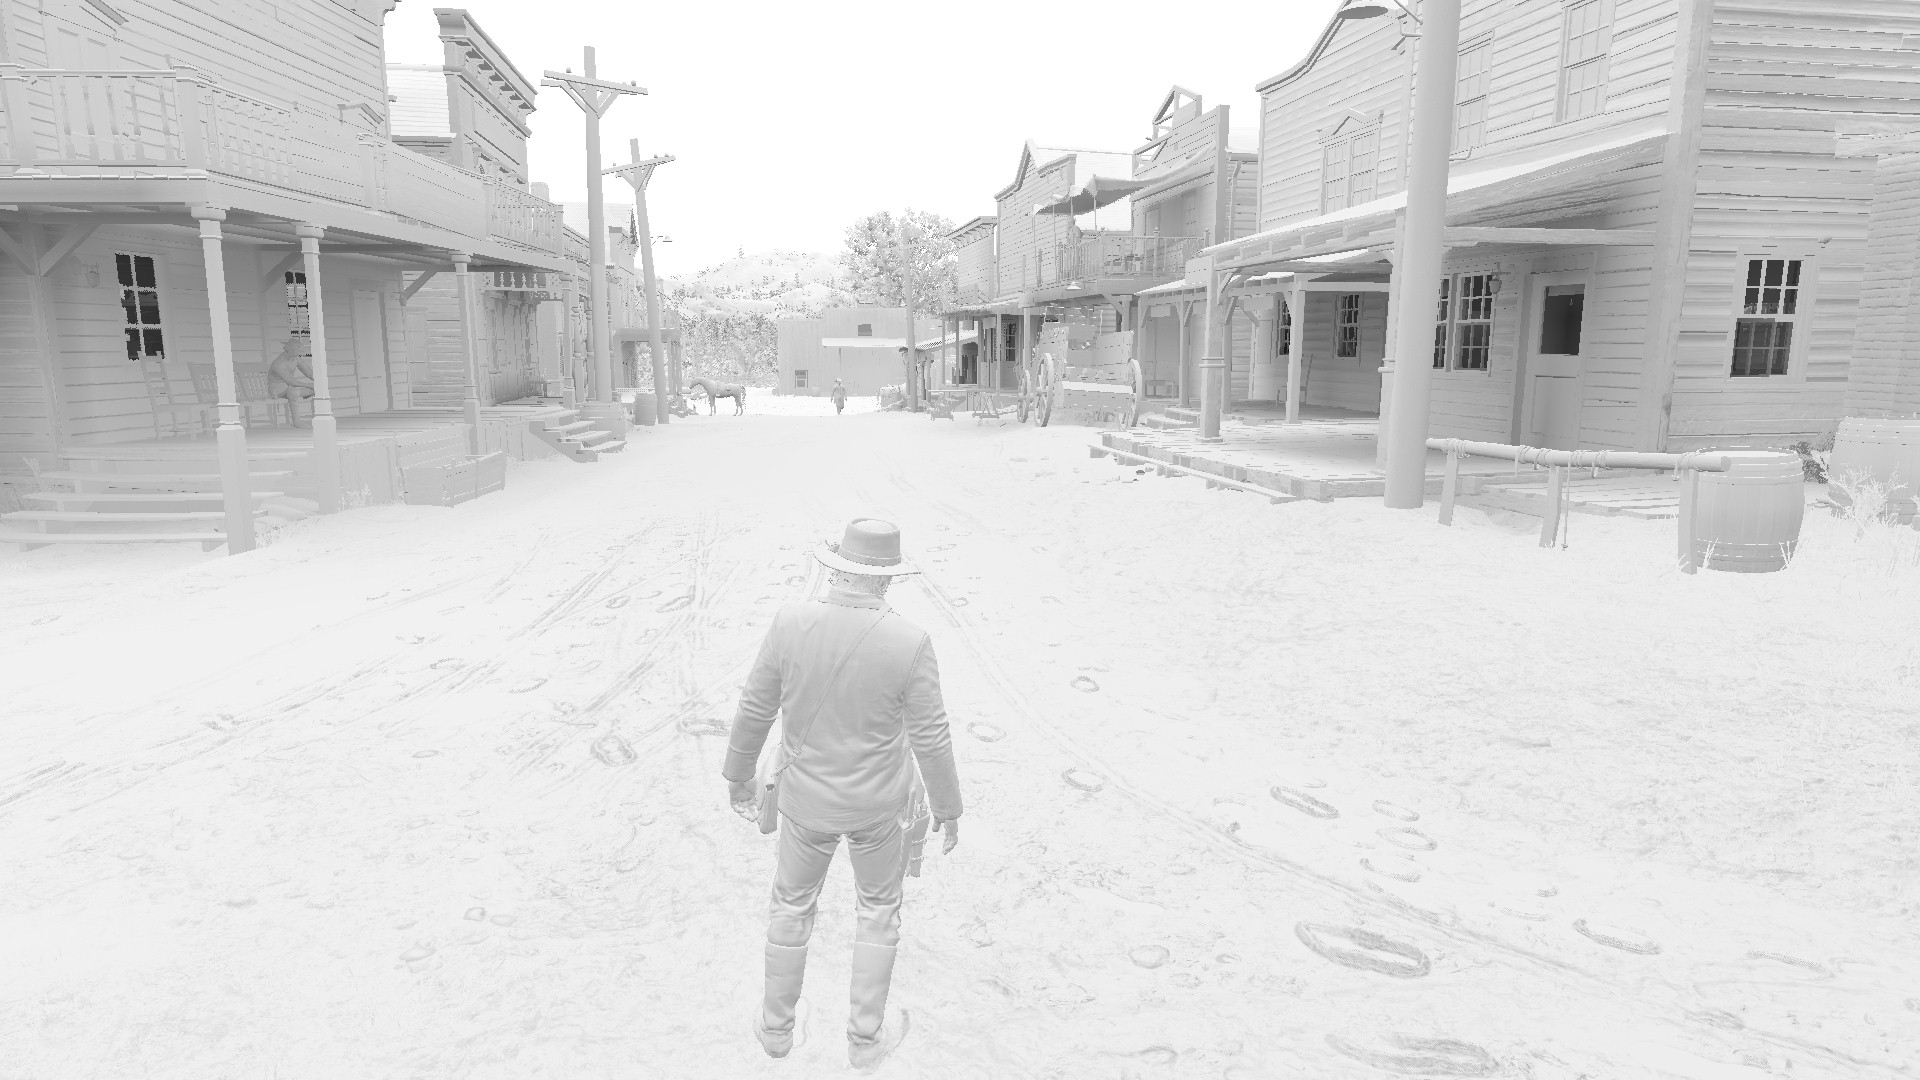
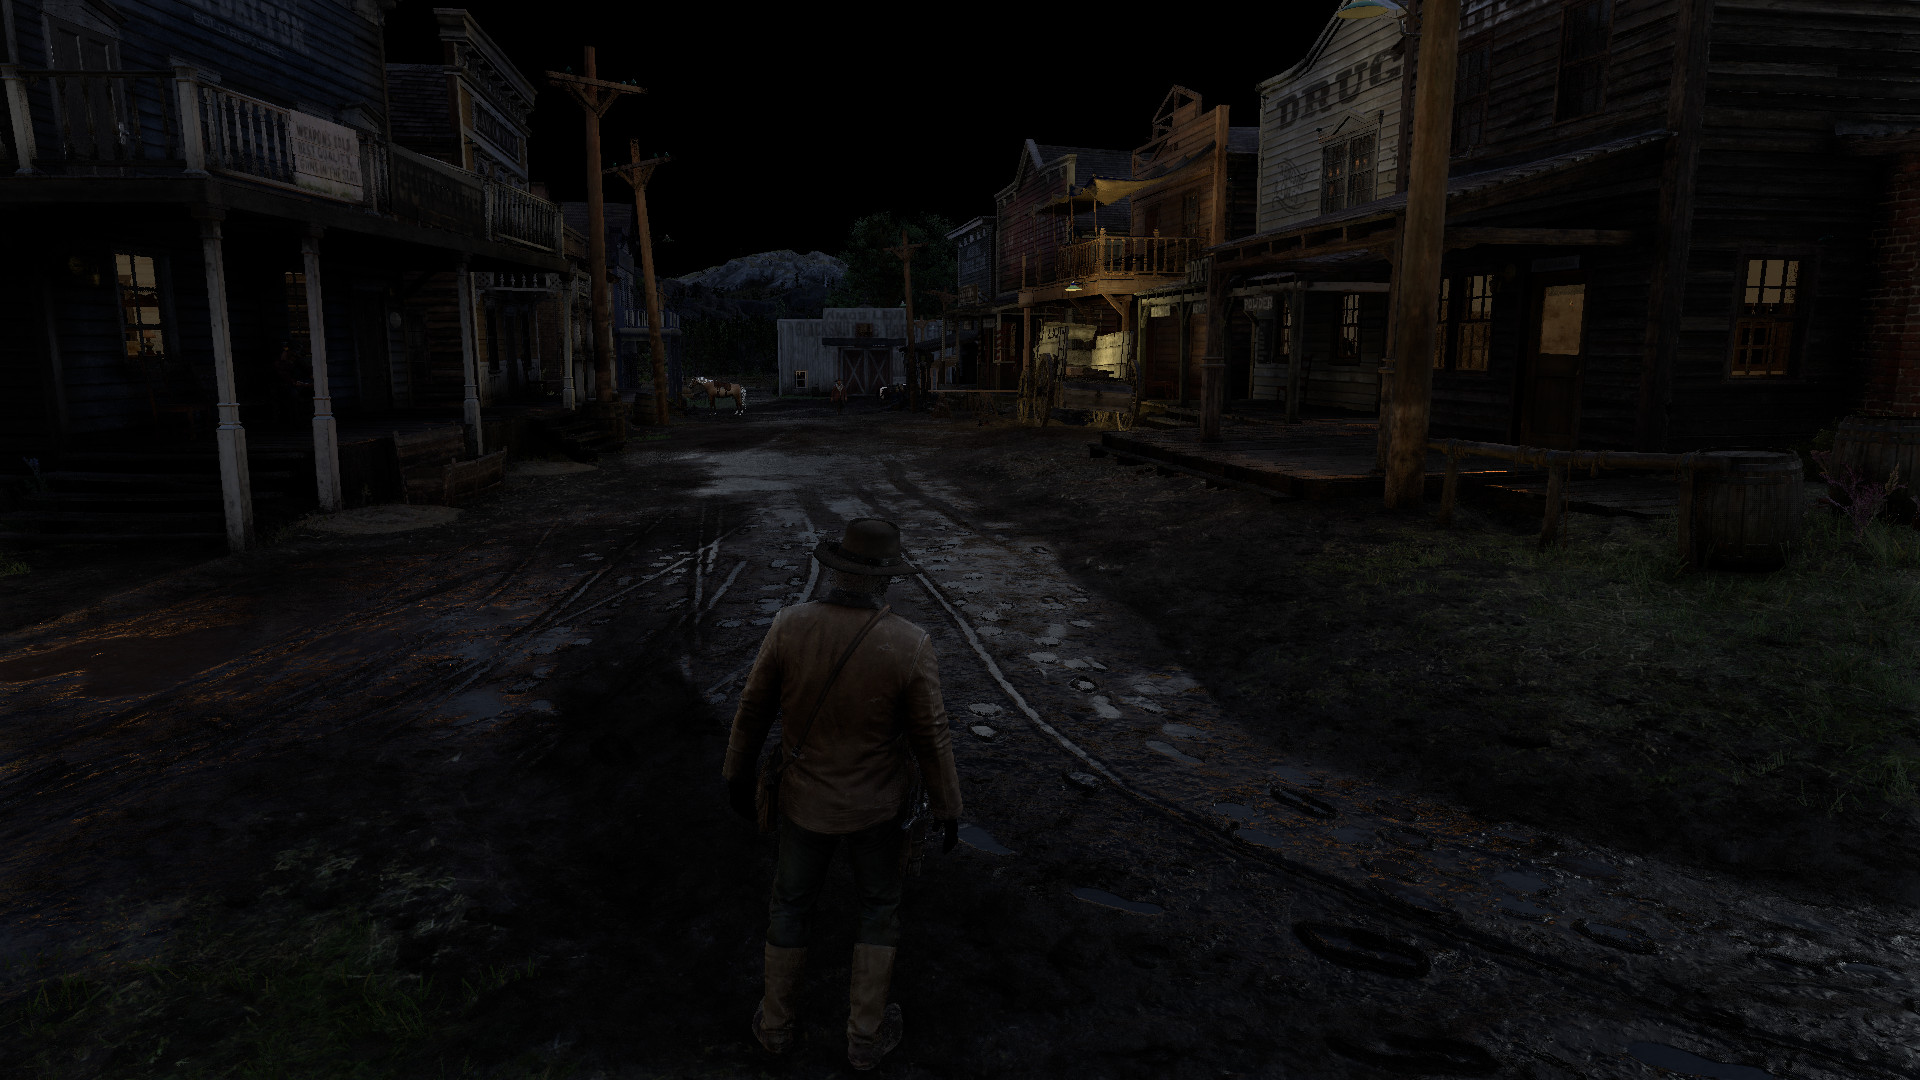
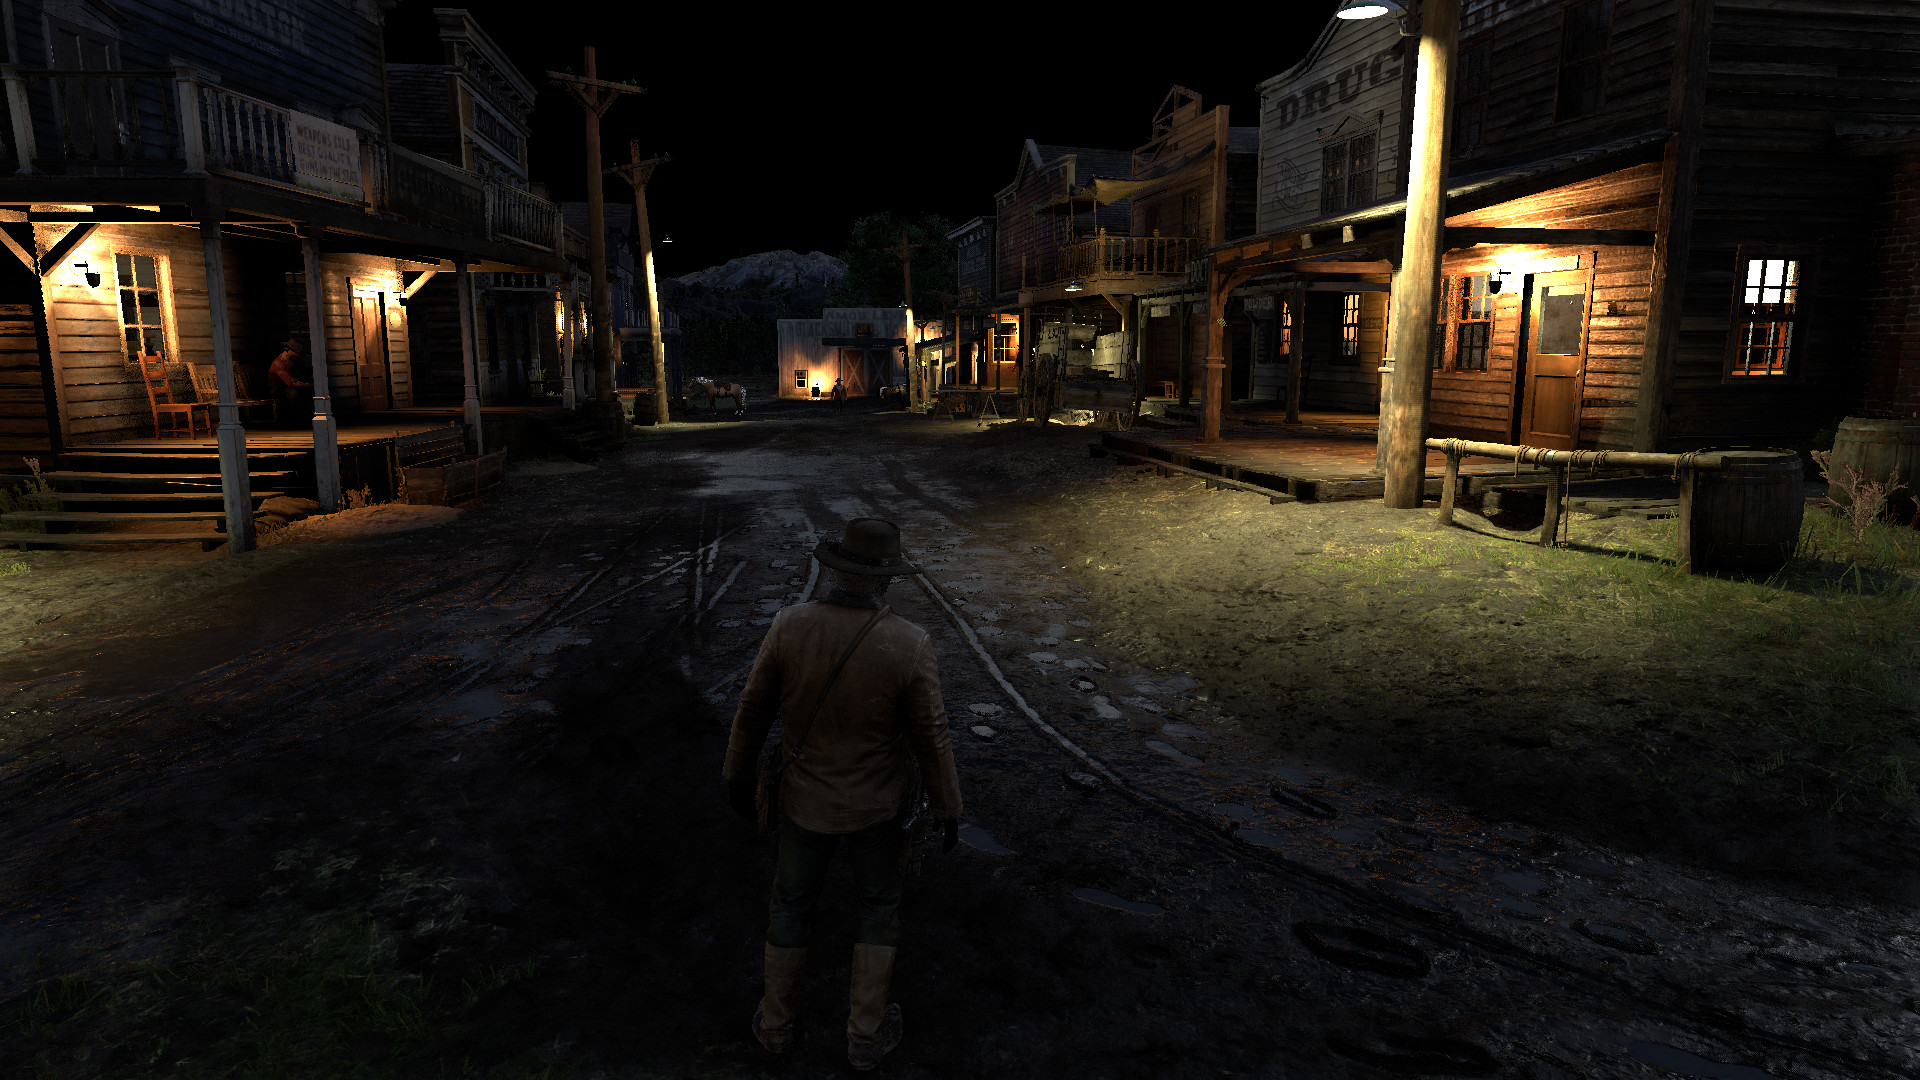
Here is the main frame for dissecting:
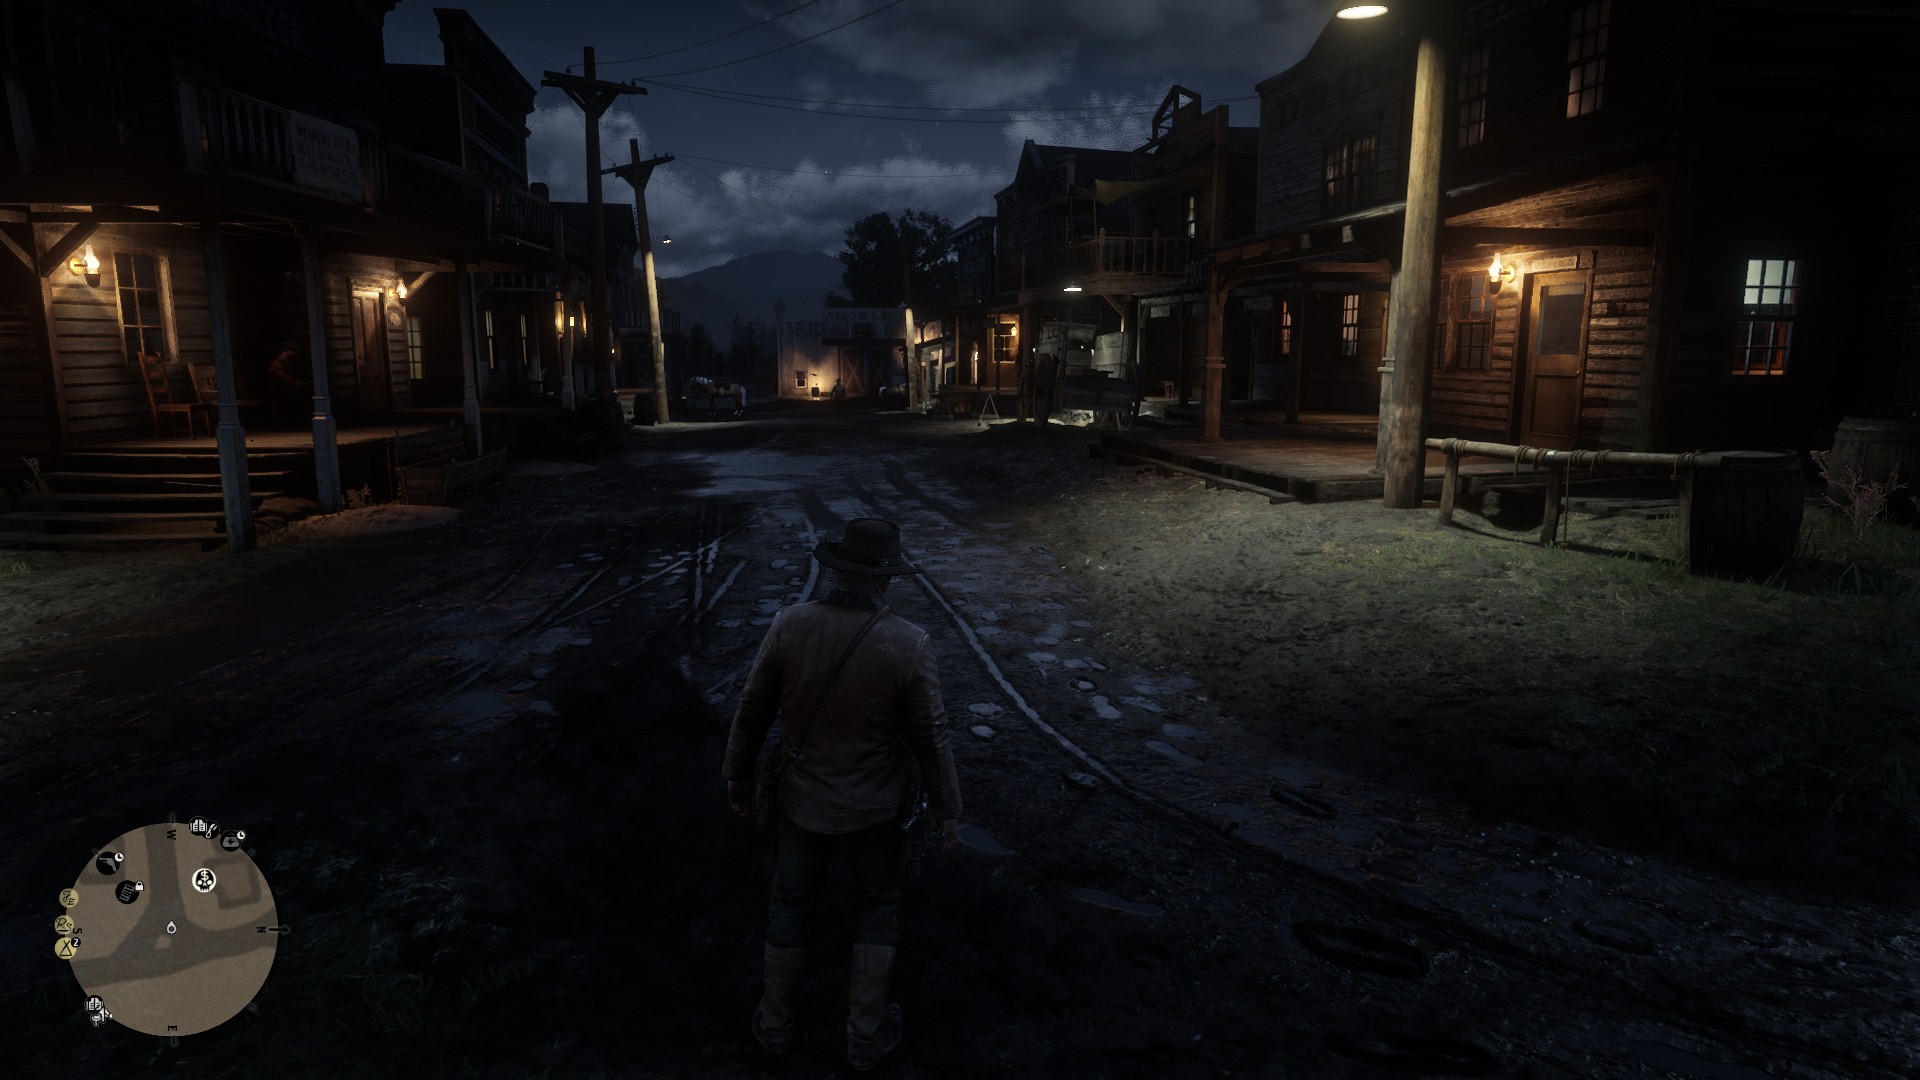 Captured on PC, medium settings.
When it comes to a game like RDR2, it's almost impossible to see all the techniques in one frame. It amortizes its work across multiple frames. Because of that, I captured more than a single frame but this is the main one we are going to be focusing on. It contains a lot of properties like; spot and point lights, directional light (it's very subtle but it's there), buildings, NPCs, a horse, trees, vegetation, clouds, etc. It should demonstrate most of the rendering techniques used in the game.
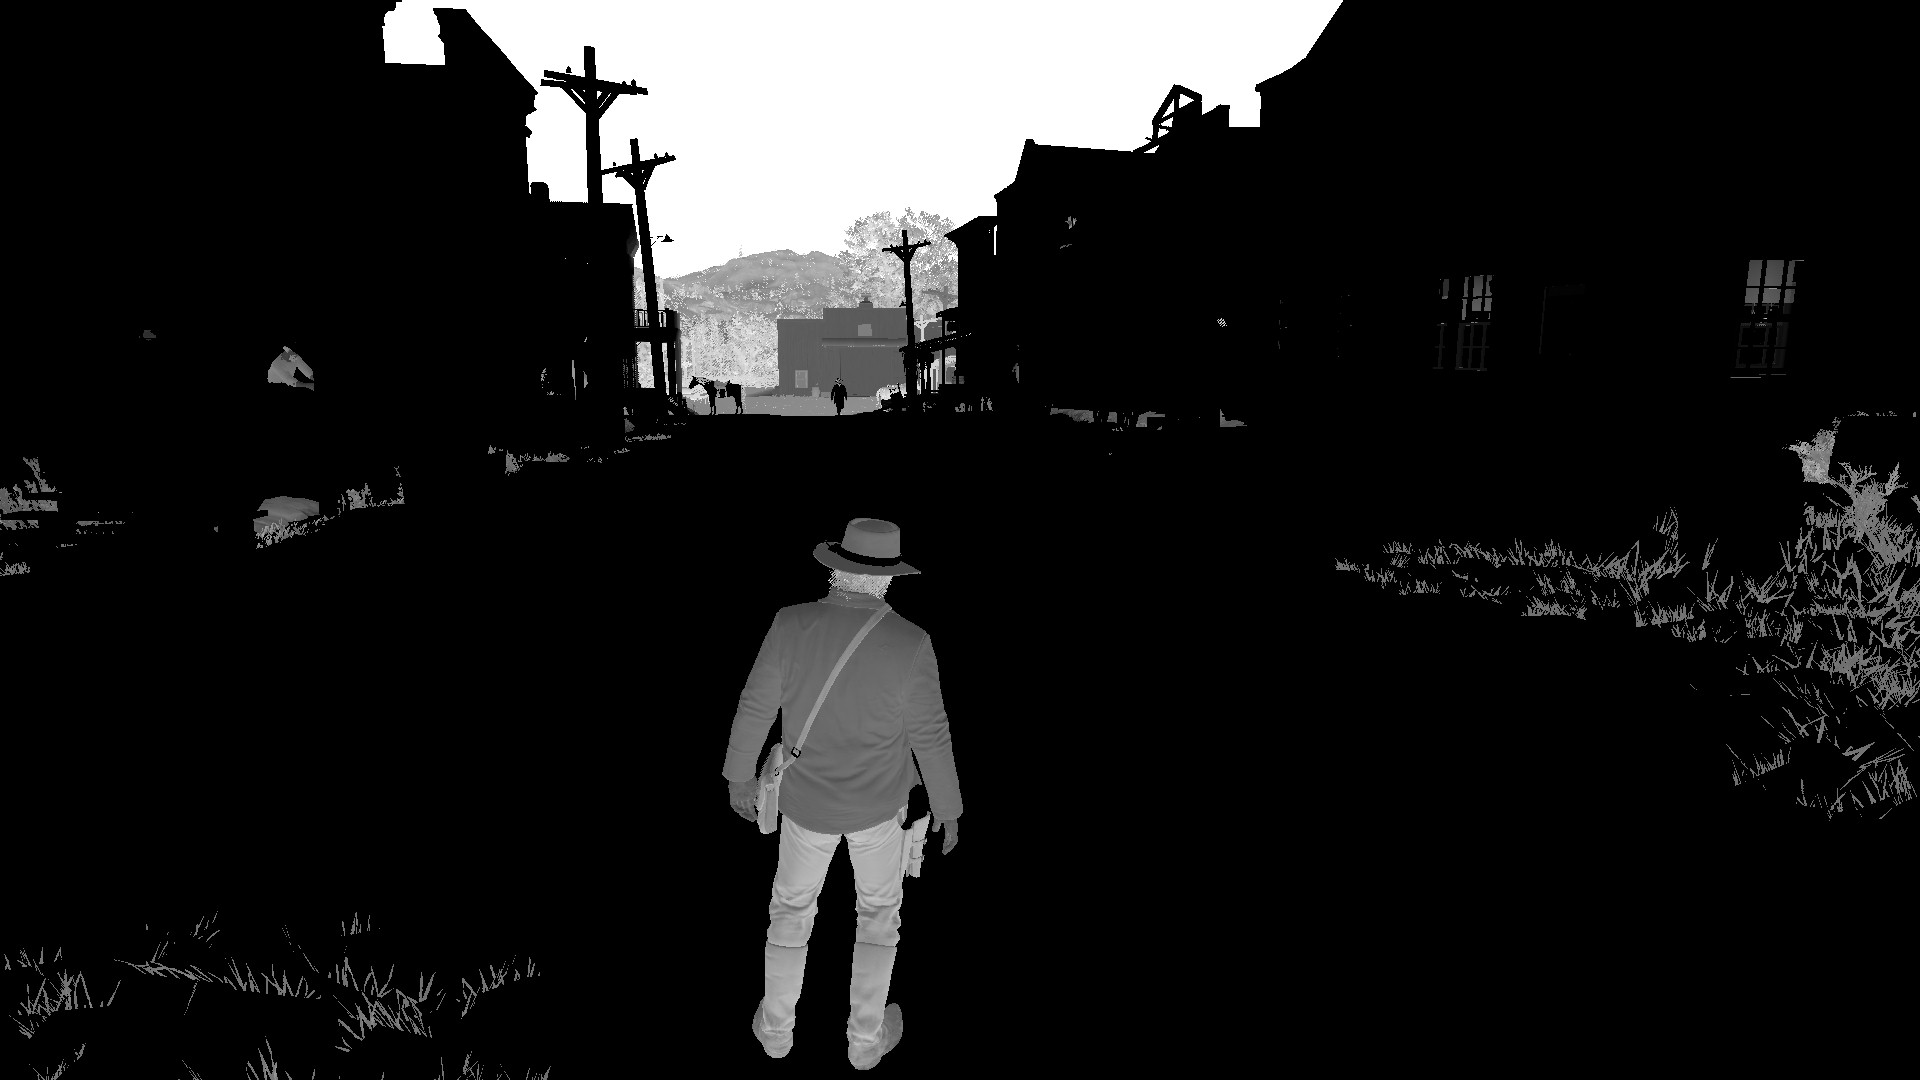
RDR2 is an open-world game that streams data constantly. Because of that, the frame starts with a bunch of tasks like creating and deleting textures, shader resource views, unordered access views, updating descriptors, buffers, etc.
Mud map
Mud plays a big role in the game. Beside being a game mechanic, it makes envrionments more realistic. The game renders footprint textures of humans and horses into a displacement map along with trail textures of horse wagon wheels. This accumulated texture is used for Parallax Occlusion Mapping when rendering terrain.
 Mud map: 2048x2048
 R16_UNORM
Sky and clouds
After the mud pass, the game does a lot of work on GPU compute. Most of them related to sky and clouds. Clouds, fog, and volumetrics are RDR2's prominent effects. You can find more information about this stage on Fabian's slides. He explains in far more detail than I could ever explain.
Environment map
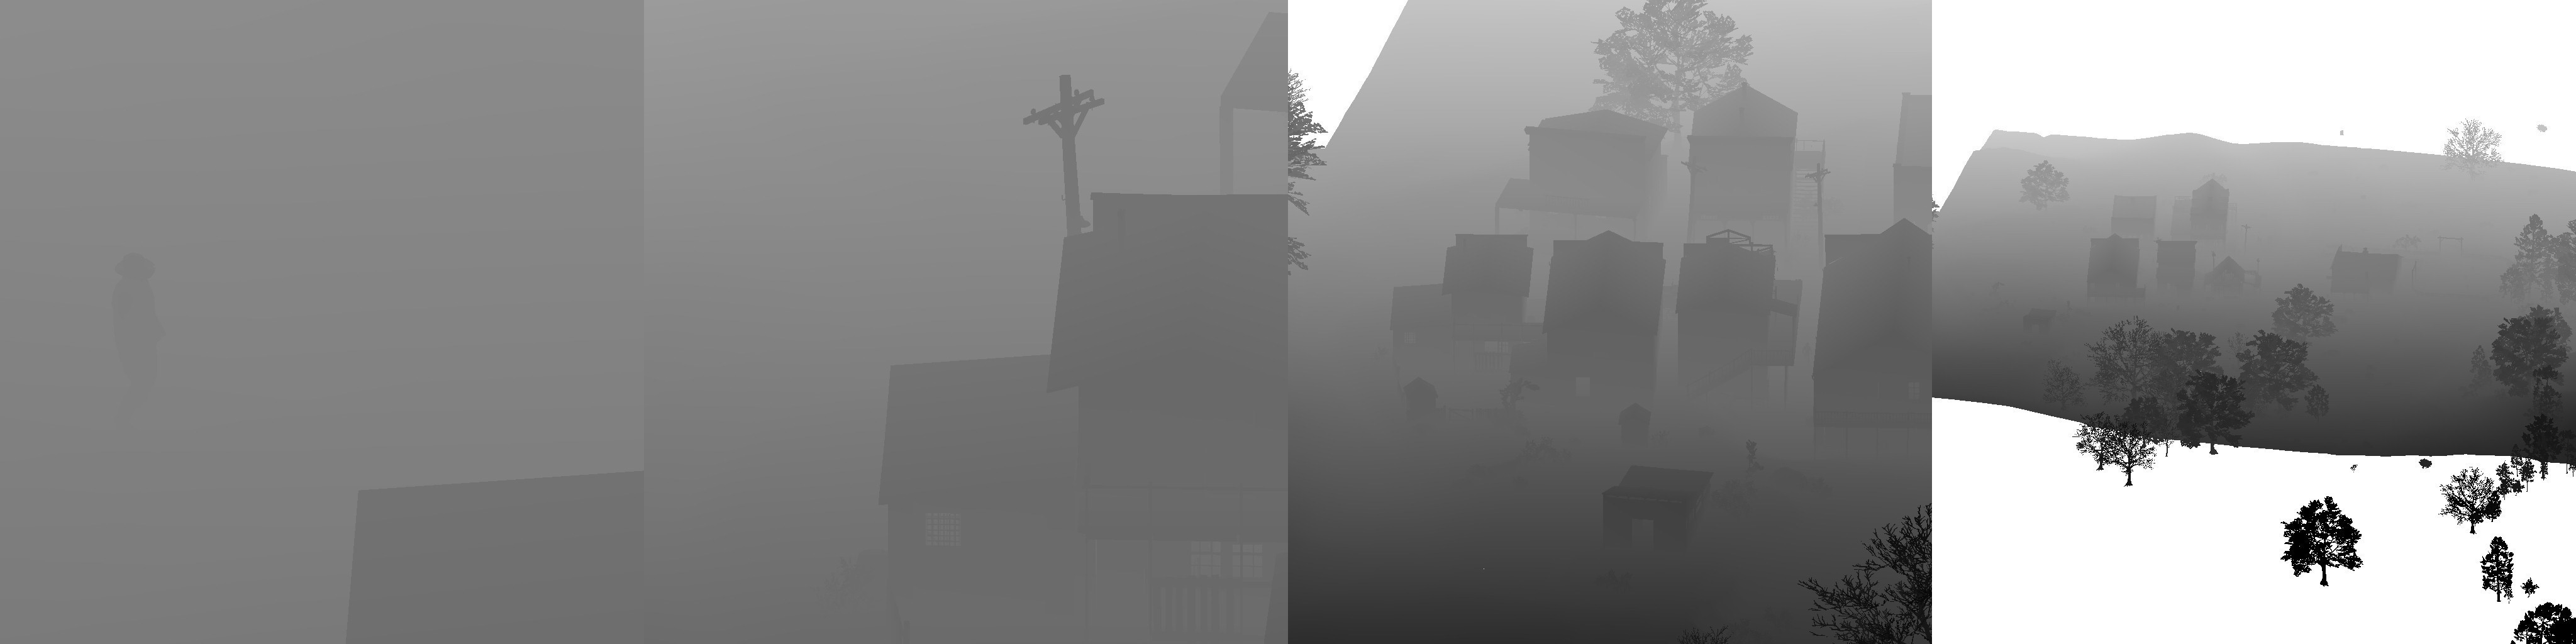
Environment maps are the main source of reflections in RDR2 as well as GTA5. Like the GTA5, RDR2 generates an environment cubemap from the camera position. It generates a thin GBuffer for the envrionment map, similar to Far Cry 4.
 Environment Cubemap Faces (Albedo):
 RGBA8_SRGB
 Environment Cubemap Faces (Normal):
 RGBA8_UNORM
 Environment Cubemap Faces (Depth):
 D32S8
Environment cubemap generation in every frame can be a heavy task. RDR2 does some optimizations to reduce the cost. For example, the game only draws static and opaque objects, does frustum culling before rendering each face, and draws lower LOD versions of models. Although, I've found that poly count of the terrain is still very high for environment maps.
After the G-Buffer pass, a sky environment cubemap is generated using a sky paraboloid map and cloud-related textures. The next step is convolution. RDR2 uses split sum approximation for Image Based Lighting. That method uses a pre-filtered environment cubemap along with an environment BRDF LUT. For filtering, the game convolutes an environment cubemap and stores convoluted versions in the cubemap's mipmap levels.
Before executing a lighting pass for the environment cubemap, RDR2 renders baked large-scale ambient occlusion into another cubemap texture. The game uses screen space ambient occlusion but SSAO can help you on a small scale. Baked ambient occlusion helps to darken on a large scale such as darkening in patios and interiors.
 Environment Cubemap Faces (Baked AO):
 R8_UNORM
The game uses tile-based deferred rendering path for calculating the lighting of environment maps. The light culling and the lighting are calculated together in one compute pass for each environment map face. (thanks @benoitvimont for pointing that out) The game also uses the "top-down world lightmap" technique, similar to Assassin's Creed III, for baked lighting.
For each cubemap face, RDR2 renders the final color on top of the sky environment texture. Then it filters the environment cubemap same as the sky environment cubemap.
 Environment Cubemap Faces (Final):
 R11G11B10_FLOAT
RDR2 also loads envrionment maps that located in building interiors when the player is near a building. These are also cubemap G-Buffers streamed from the disk.
 Baked Environment Cubemap Faces (Albedo):
 BC3_SRGB (Baked AO stored in alpha channel)
 Baked Environment Cubemap Faces (Normal):
 BC3_UNORM
 Baked Environment Cubemap Faces (Depth):
 R16_UNORM
The game calculates the lighting of these maps and filters them like the previous ones. It only calculates one baked environment map at a time and only recalculates them when the time of day changes. All of the environment maps are stored in a texture cubemap array. There isn't any cubemap to dual-paraboloid map conversion.
G-Buffer Pass
This stage starts with terrain depth prepass and then the game renders scene into G-Buffers.
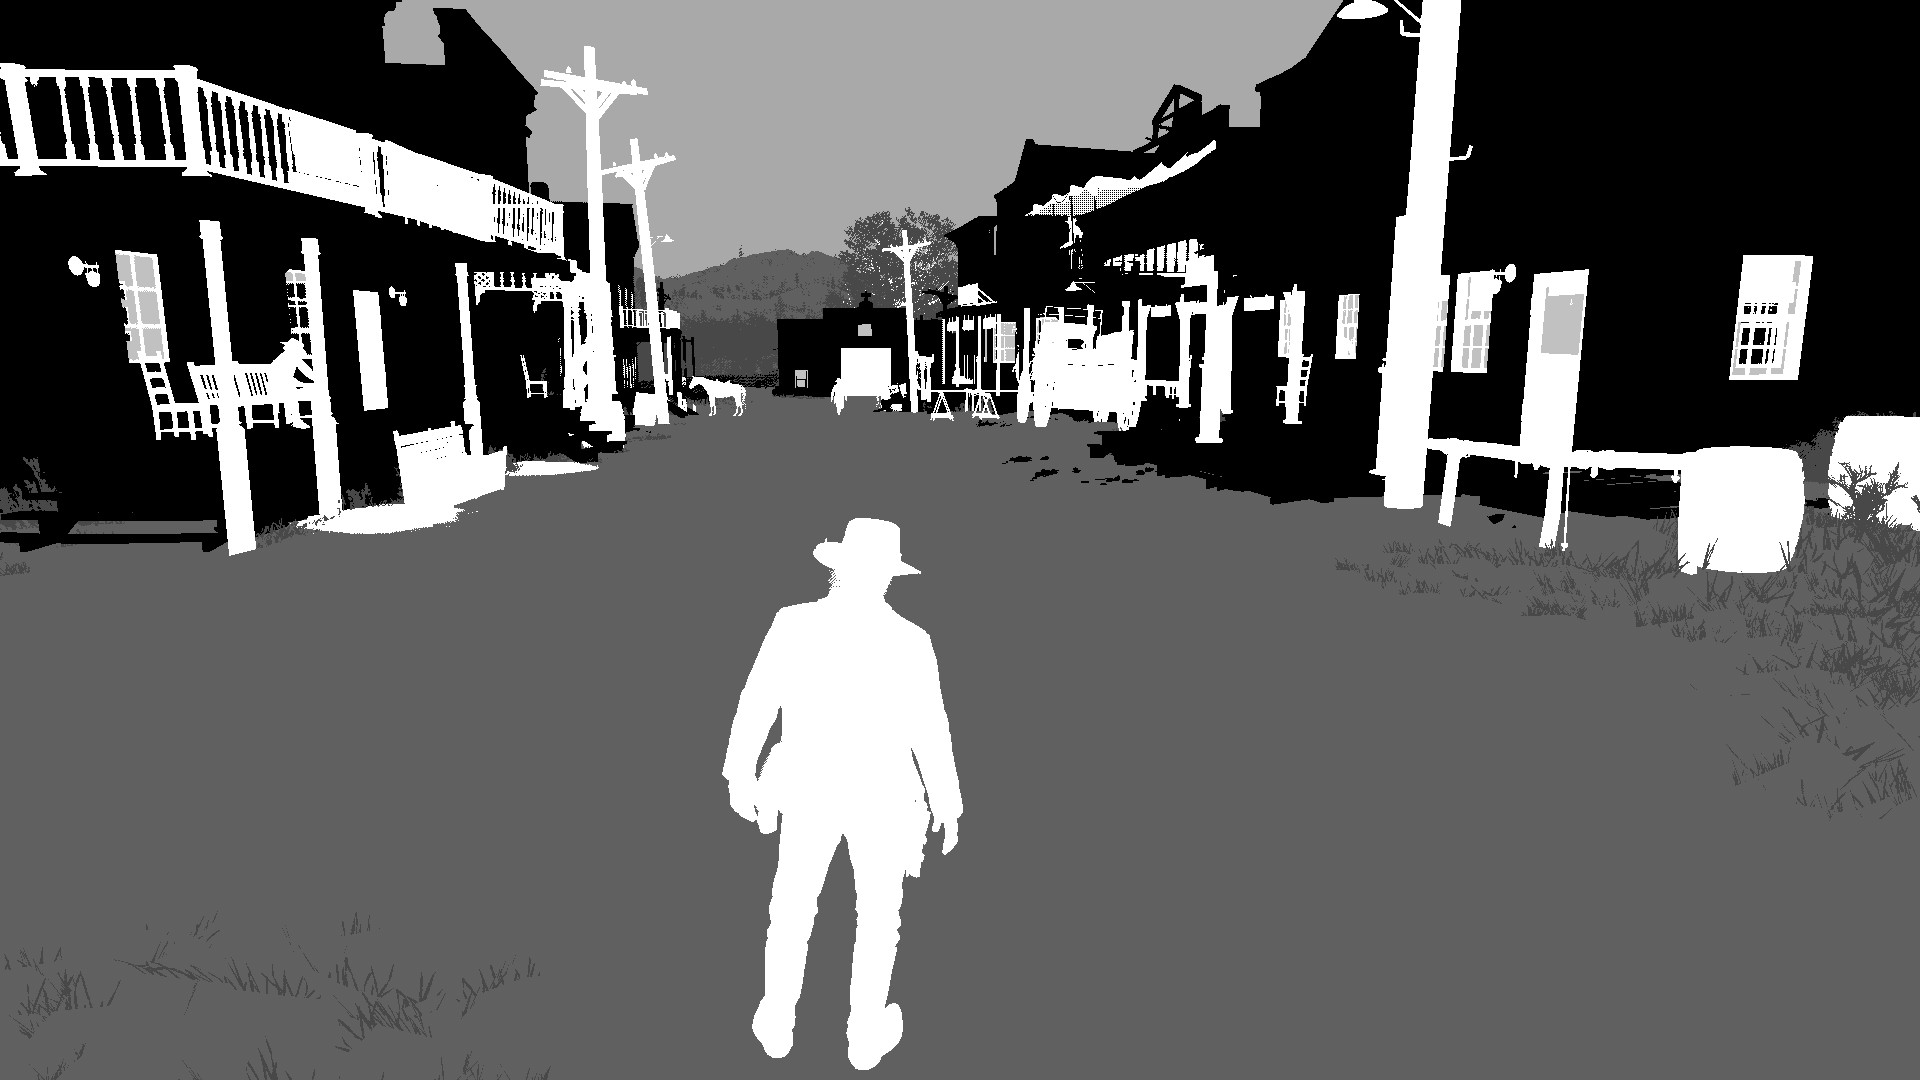
GBuffer 0 RGB |
GBuffer 0 A |
|---|---|
 |
 |
RGBA8_SRGB- This buffer contains albedo(base color) in RGB channels. I'm not sure what the alpha channel data is for but it's used on anti-aliasing stage.
GBuffer 1 RGB |
GBuffer 1 A |
|---|---|
 |
 |
RGBA8_UNORM: The RGB channels contain normals and the alpha channel contains something related to cloth and hair.
GBuffer 2 RGB |
GBuffer 2 A |
|---|---|
 |
 |
RGBA8_UNORM: This target is for material properties.- R: Reflectance(f0)
- G: Smoothness
- B: Metallic
- A: Contains some shadowing (this channel will be used as a shadow mask at later stages)
GBuffer 3 R |
GBuffer 3 B |
|---|---|
 |
 |
RGBA8_UNORM: The red channel contains cavity. There is another mystery data in the blue channel. And hair related data in the alpha channel. I can't find anything on the green channel.
GBuffer 4 RG |
|---|
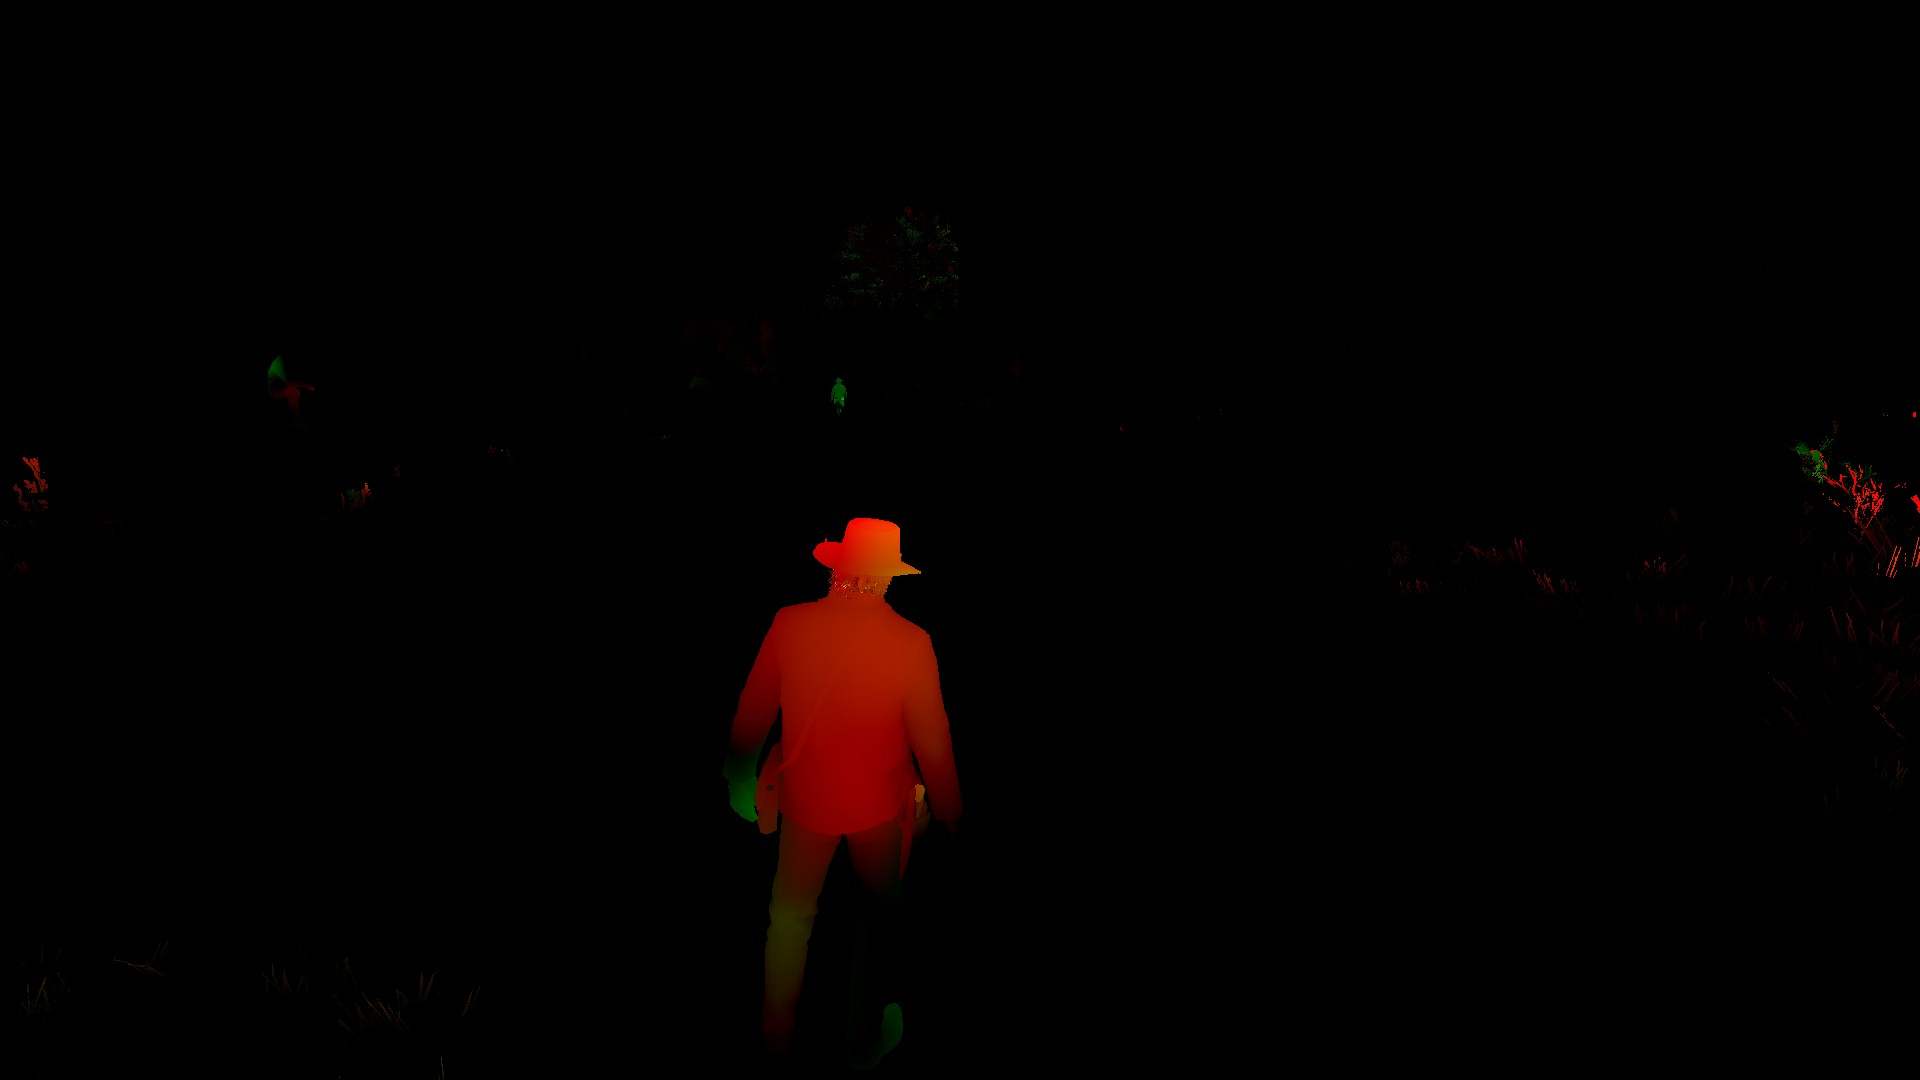 |
RG16_FLOAT: This buffer contains screen space velocity for motion blur.
GBuffer 5 Depth |
GBuffer 5 Stencil |
|---|---|
 |
 |
D32S8: Like the GTA5, RDR2 is also using reversed-z for depth and using the stencil buffer to assign certain values to certain group of meshes.
There is another target is generated from baked data:
GBuffer 6 R |
GBuffer 6 G |
|---|---|
 |
 |
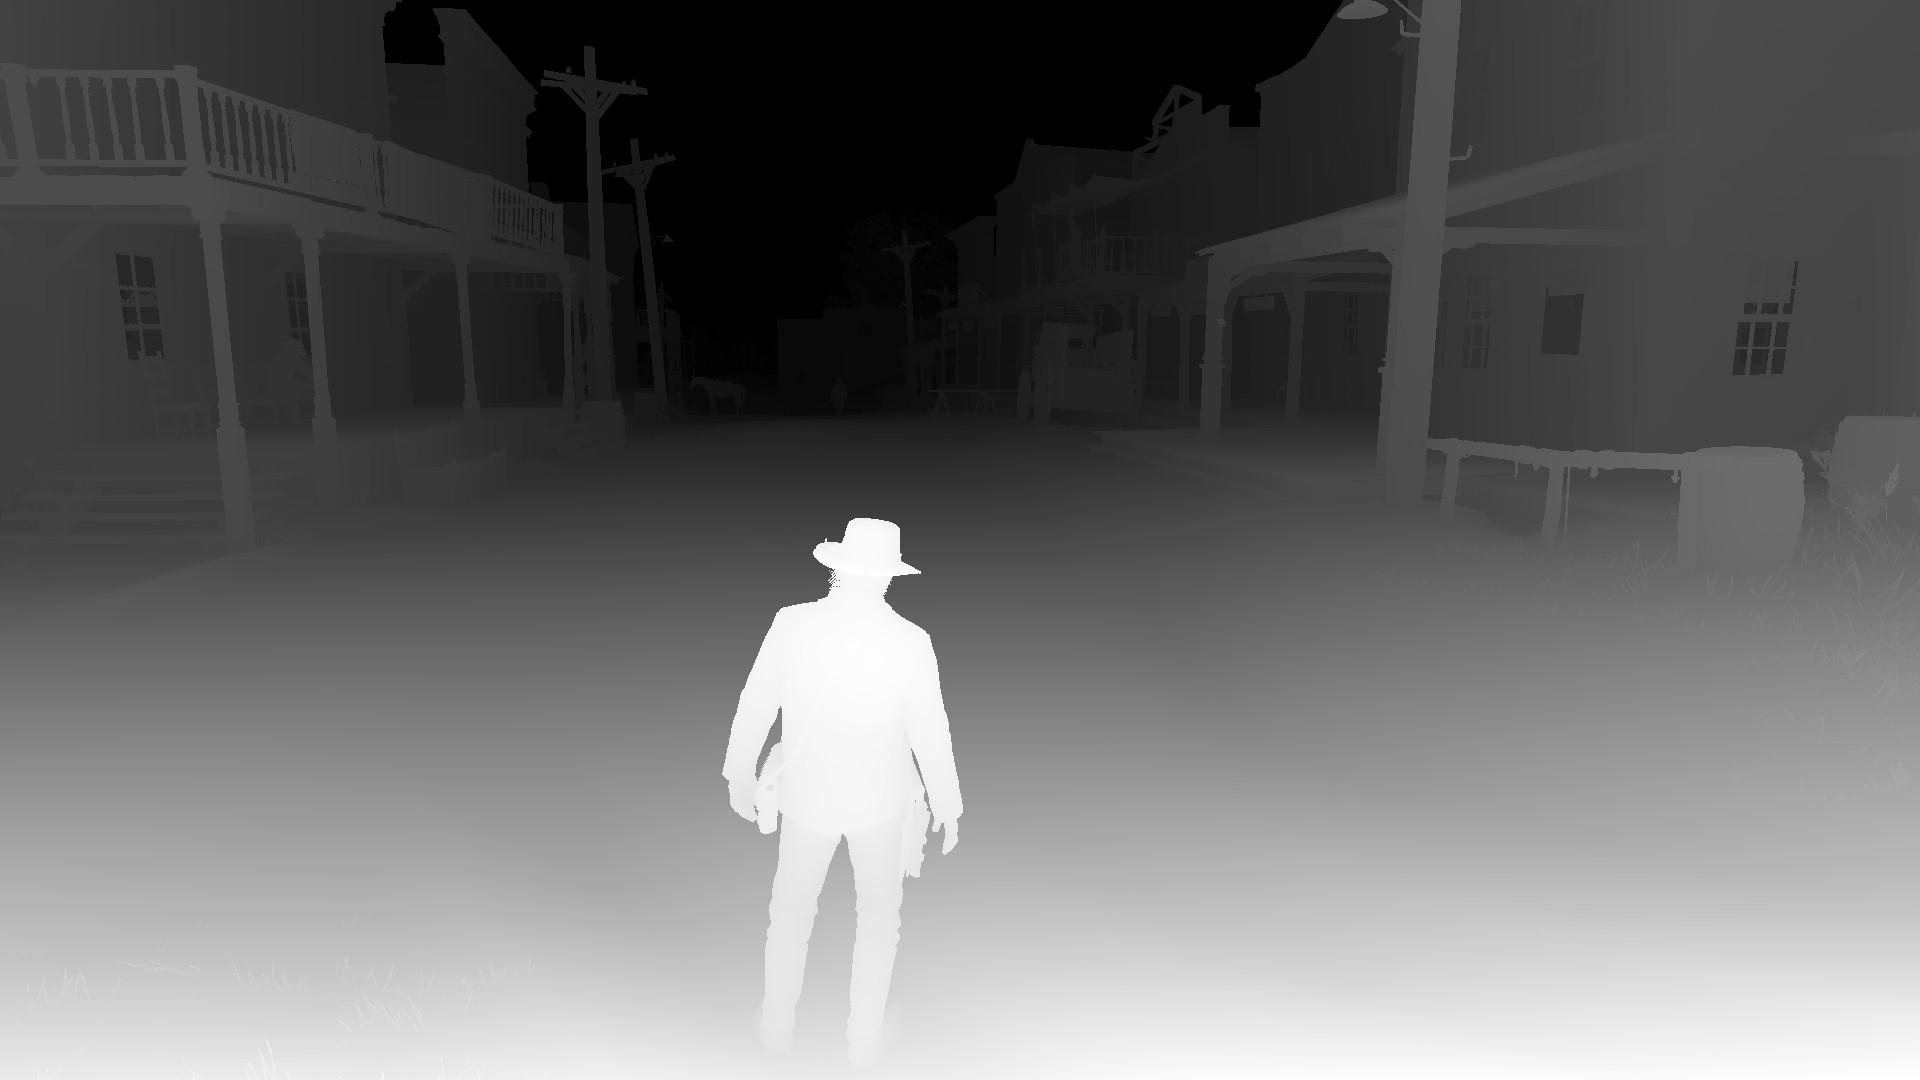
This buffer contains baked ambient occlusion in the red channel, the same as in the environment map stage. But there are other channels in this texture. The green channel contains some data that looks like the data in GBuffer 3's blue channel. Again, I don't know what is this data used for. And I can't find any data in blue and alpha channels on my captures. I will investigate this further.
Shadow Map Generation
After the G-Buffer stage, the game starts to render shadow maps. It uses 2D texture arrays for point light shadow maps and texture cube arrays for point light shadow maps.
Some games use big shadow atlas texture for shadow maps (e.g DOOM). One of the advantages of that method is shadow map size can vary based on distance. When you use texture arrays, you lose that flexibility because all of the textures in texture arrays must be the same size. RDR2 has 3 different texture arrays for different quality. For example, spotlights have:
- 512x768 D16 for distant lights
- 1024x1536 D16 for medium distance(and closer distance on medium setting) lights
- 2048x3072 D16 for closer lights (on high/ultra settings)
Point lights cast shadows in all directions. To deal with that problem, games use a technique called Omnidirectional Shadow Mapping where you render the scene into a depth cubemap from the camera position. Campfire shadows and shadows from Arthur's lantern are rendered using this technique. Point light shadows have 3 different arrays for different quality settings same as spotlights.
Most of the static point lights in the game have baked shadow cubemaps. So, the game uses baked shadows whenever it can and only generates shadow maps when the player is near a light-volume. But things get more interesting than that.
Most of the lights on walls are spotlights but the game doesn't generate an omnidirectional shadow map for them. Instead, it generates a spotlight shadow map and copies that shadow map's memory into pointlight shadow map cube array.
 |
 |
Left image is a 1024x1536 spotlight shadow map, right image is the same image data in 512x512 texture cube format
Note that local light shadow maps stores linear z.
That explains why they are not using a square sized shadow map for spotlights. Pixel count for spotlight shadow and point light texture cubemap should be the same. I am sure you noticed some slice pattern in the right image. That happens because the width of spot and point light shadow map is different.
Also note that this texture doesn't cover 360 degrees. But luckily, lights on buildings generally have a wall on their backside and baked shadow maps cover it.
Another interesting thing is that this process is vice-versa. For example, in Saint Denis -one of the biggest cities in the game- the game generates omnidirectional shadow maps for spotlights and copies that data into spotlight shadow map array. I don't know why RDR2 doing shadow mapping like this. I couldn't find any similar technique on the internet.
Directional light shadow mapping in RDR2 is pretty much the same as in GTA5. Cascaded Shadow Mapping with 4 cascades. Each 1024x1024 tile of the 1024x4096(medium settings) texture atlas used as a cascade.
 Directional Light Shadow Atlas:
 R16_UNORM
Lighting Stage
It's finally time to combine all of these environment maps, gbuffers, shadow maps, ao buffers.
This stage contains two passes: The first one is for global light(sun/moon) and the second one is for local lights.
Global light pass
The game renders a fullscreen quad for calculating directional lighting which is moonlight in this case. There is some baked lighting from the "top-down world lightmap" mentioned previously.
Local light pass
In this pass, the game renders a low-poly sphere shape for point light volumes and octahedron like shape for spotlight volumes. Lights are rendered back-to-front with additive blending.
For avoiding unnecessary shader invokes, the game uses depth bound testing which is an extension feature in OpenGL/D3D11 but becomed native feature in Vulkan/D3D12. It also uses stencil testing for discarding pixels that consumed by translucent objects like window glasses. Those objects will be rendered at the forward pass.
Water rendering and reflections
I won't be covering water rendering in this post because it deserves a special blog post. But I want to talk a little bit about reflections:
- Like previously mentioned, environment maps are the main source of reflections. For general reflections like window reflections, the game uses them.
- Mirrors, on the other hand, are rendered with planar reflections where you render the scene again from the direction of the reflection. This process is handled with deferred rendering also.
- Water reflections use screen space reflections combined with the environment map that generated at the beginning of the frame.
Forward shading stage
One of the disadvantages of deferred rendering pipeline is that you can't render translucent materials with GBuffers correctly. To solve that, the game renders translucent materials back to front with forward shading like most of the games that using deferred rendering.
But this forward pass can be expensive because:
- It uses forward shading shaders which are more expensive than deferred ones.
The number of registers used in a shader has a negative correlation with the number of shader instances that can be run in parallel. Since forward shading combines material and lighting(and shadow) calculations, the number of registers can be high in forward shaders
- It draws every thick translucent object twice.
To achieve correct blending, you have to render back faces of an object first and render its front faces second. Because of that, most of the translucent objects in this stage are being drawn twice. 2D-quad-like objects(like windows) are rendered once.
- And there is a pipeline state change between every draw.
To be able to switch between front face and back face culling, you have to change pipeline states. And those changes can be expensive.
There is another render target generated in this stage for the bloom effect. This target stores the intensity of bloom. As you can see in the picture, translucent objects glow more.
 Bloom intensity target:
 R8_UNORM
Note that the bloom intensity increases at far distances to get more glow in foggy areas.
Post processing
This is the stage where temporal antialiasing, bloom, motion blur, depth of field, and other effects are executed. I am planning for another blog post just for post processing. So, I won't talk about much in here but I want to talk a little bit about the bloom. There is already glow of lights on the main render target thanks to volumetric lighting.
RDR2 bloom implementation is very similar to the implementation described in Next Generation Post Processing in Call of Duty: Advanced Warfare.
- Non-thresholded target as input,
R11G11B10_FLOAT7-mip render target,- 13-bilinear-tap filter on downsampling, 3x3 tent filter on upscaling.
Then the game combines this filtered bloom target with the main target along with the bloom intensity target.
Conclusion
What a quite ride! There is so much more to talk about but I don't want this blog to be too long. I'd like to share my conclusions about all of this and some odd things that I've found along the way.
- The first thing I noticed is that this game does a lot of compute to graphics switches and vice versa. It uses async compute if you enable. (You can't enable async compute on in-game settings. You have to enable it from the game's config file) For example, just for bloom effect; the game switches to compute and does some work, then switches back to graphics and does downsampling, then switches back to compute for some other work and switches back to graphics again for upsampling. Aren't these "switches" expensive on GPUs? Does the gain from compute justify the cost of switches?
- Another thing is that RDR2 clears most of the textures. This is strange because games generally avoid unnecessary texture clears(e.g. clearing GBuffers). Do these "texture clears" have a real impact on performance? Do they need to clear these textures?
- Another odd thing is that; There are 3 (maybe more) same depth downsample pass in one frame. One for SSAO, another for SSR, and another for volumetric fog and light shaft generation stage. Why the game doesn't use the downsampled depth target from SSAO for other stages?
Don't get me wrong, I don't blame anyone here (Well... I'm little upset about low framerates), I'm trying to understand why these decisions were made. After all, lots of talented people crunched hard on this game. It is likely that they didn't have enough time to optimize the game further.
Last words
Well, that's it! RDR2 is a gorgeous game to look at. Not just for graphics techniques but the art, the lighting, everything looks phenomenal. I've fallen love with the color palette of this game. Especially at night times, it reminds me of The Assassination of Jesse James by the Coward Robert Ford, No Country for Old Men, and other western movies that shot with 35mm cameras.
If you find anything that is wrong or can be improved, please feel free to contact me. I will update this article when I got more information. Please, comment, share and enjoy.
2645 Words
2020-06-19 19:15 +0300